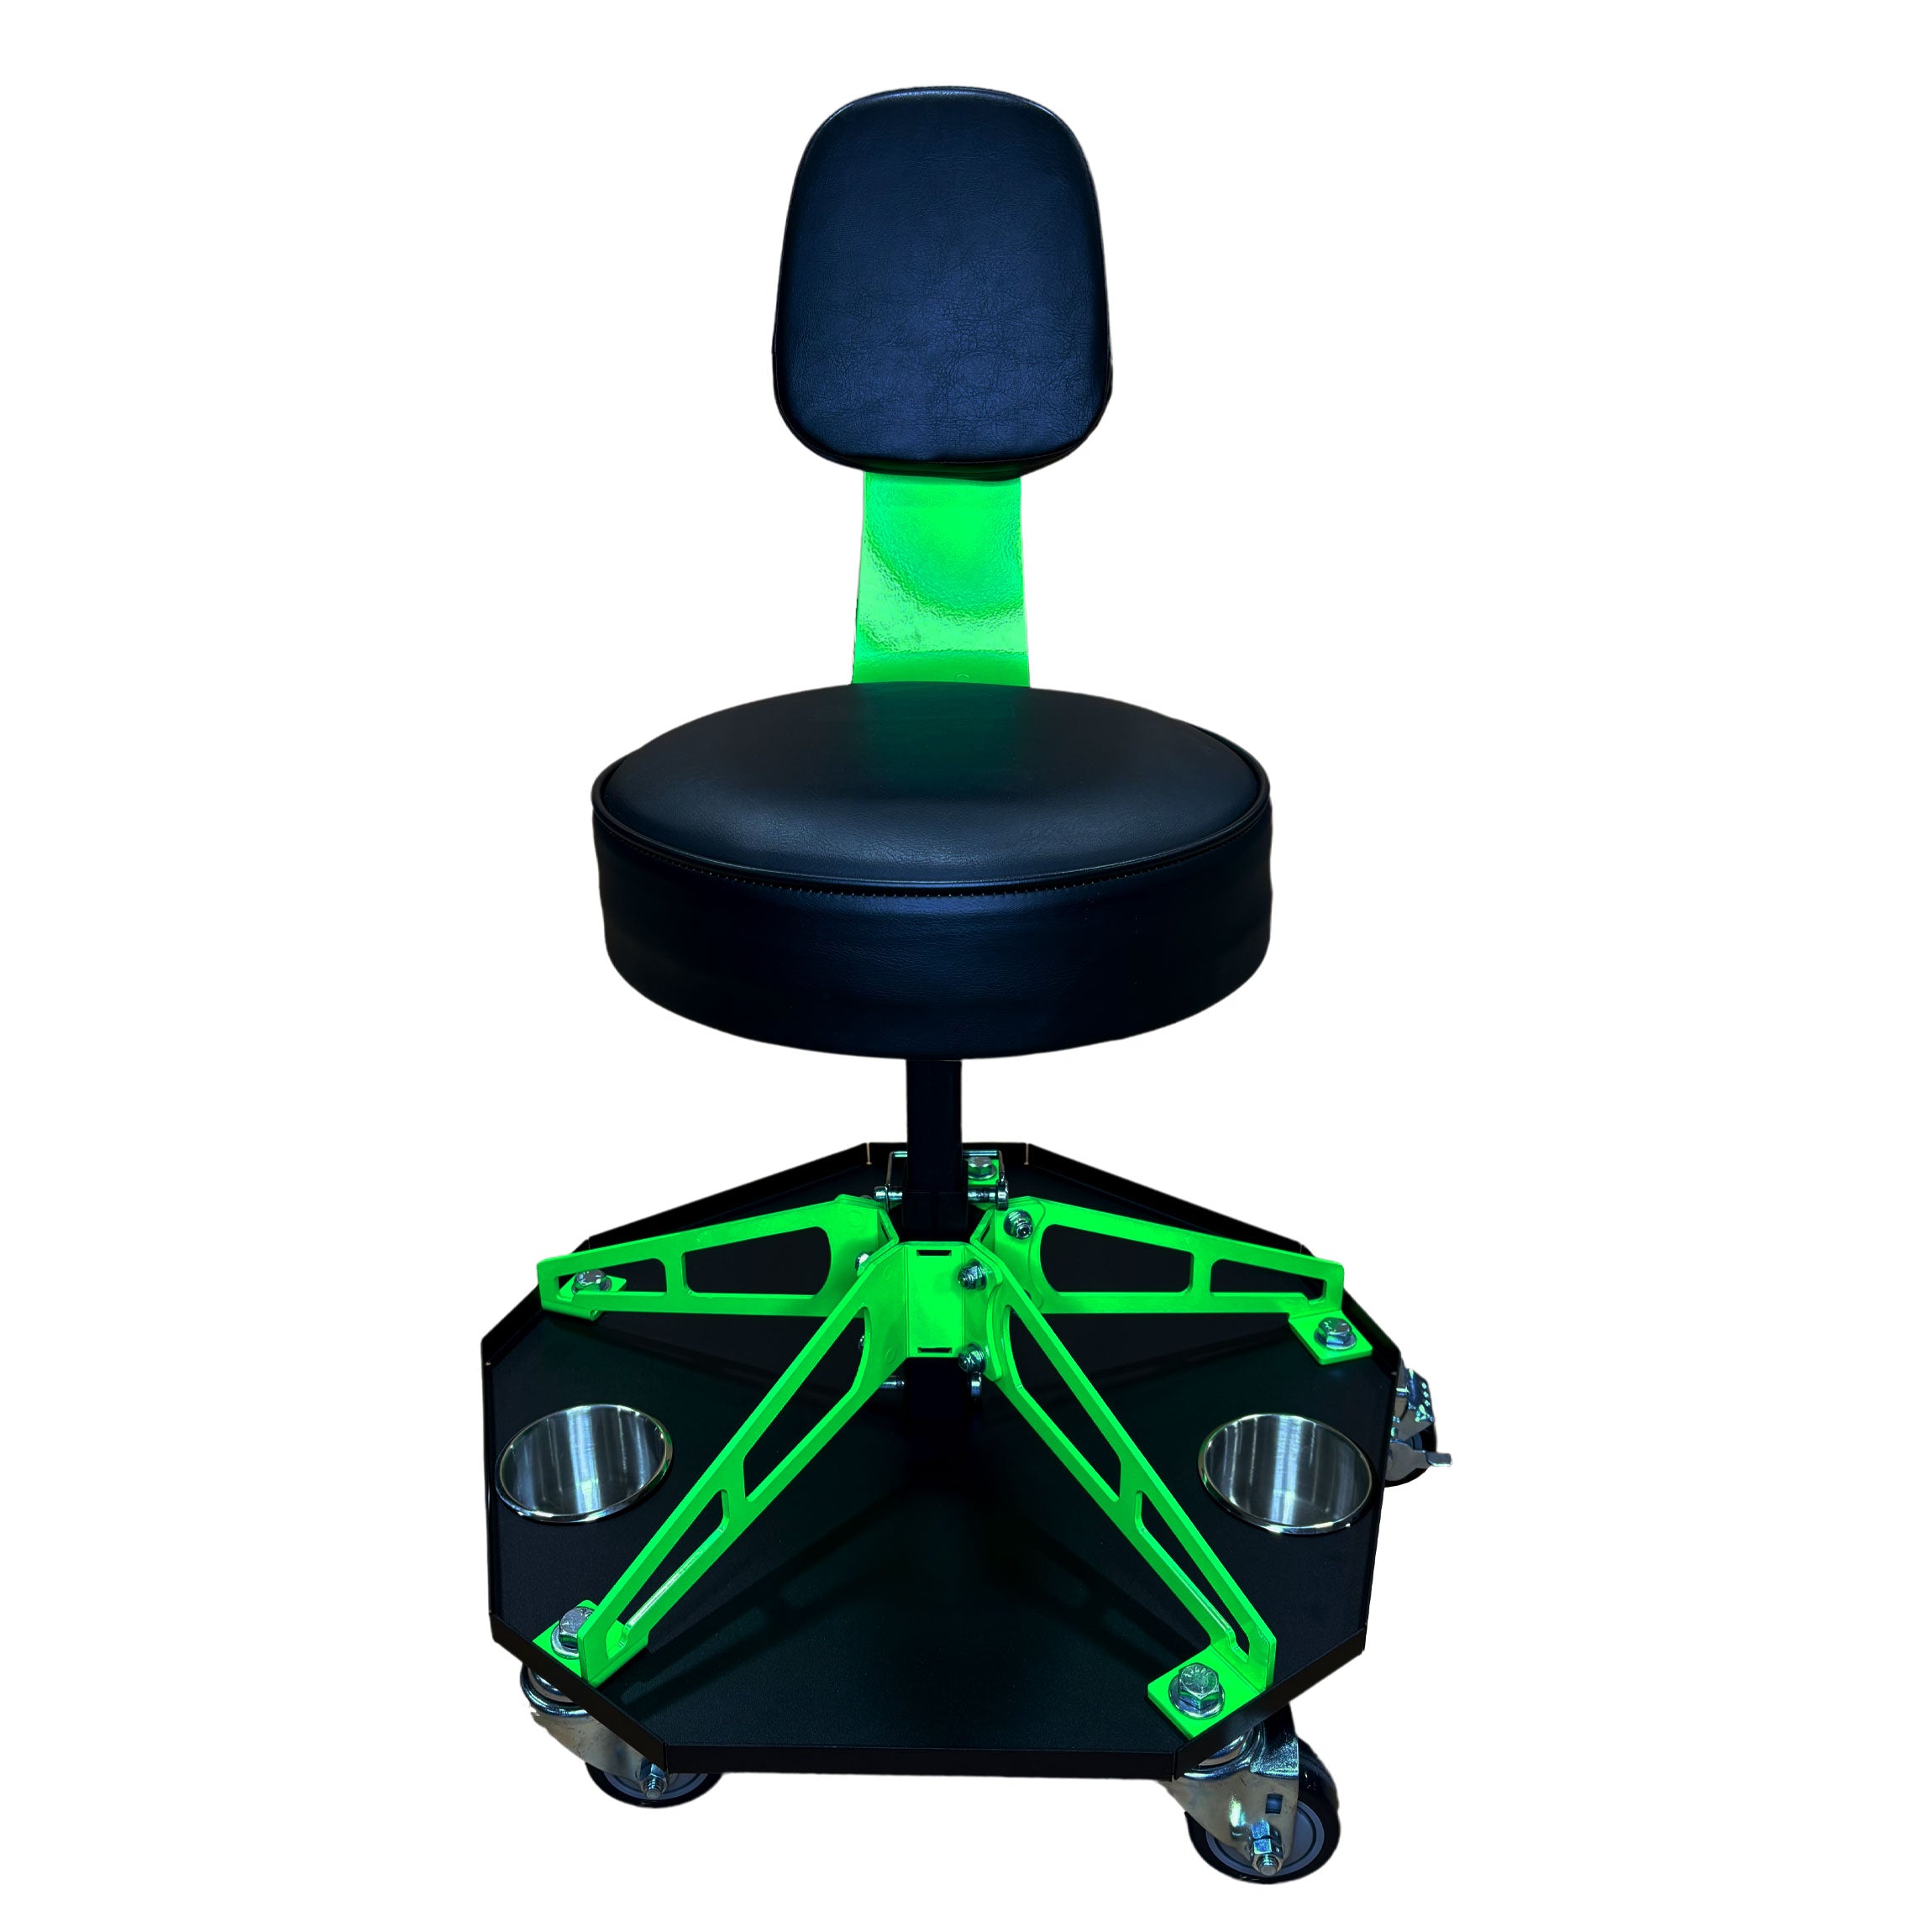

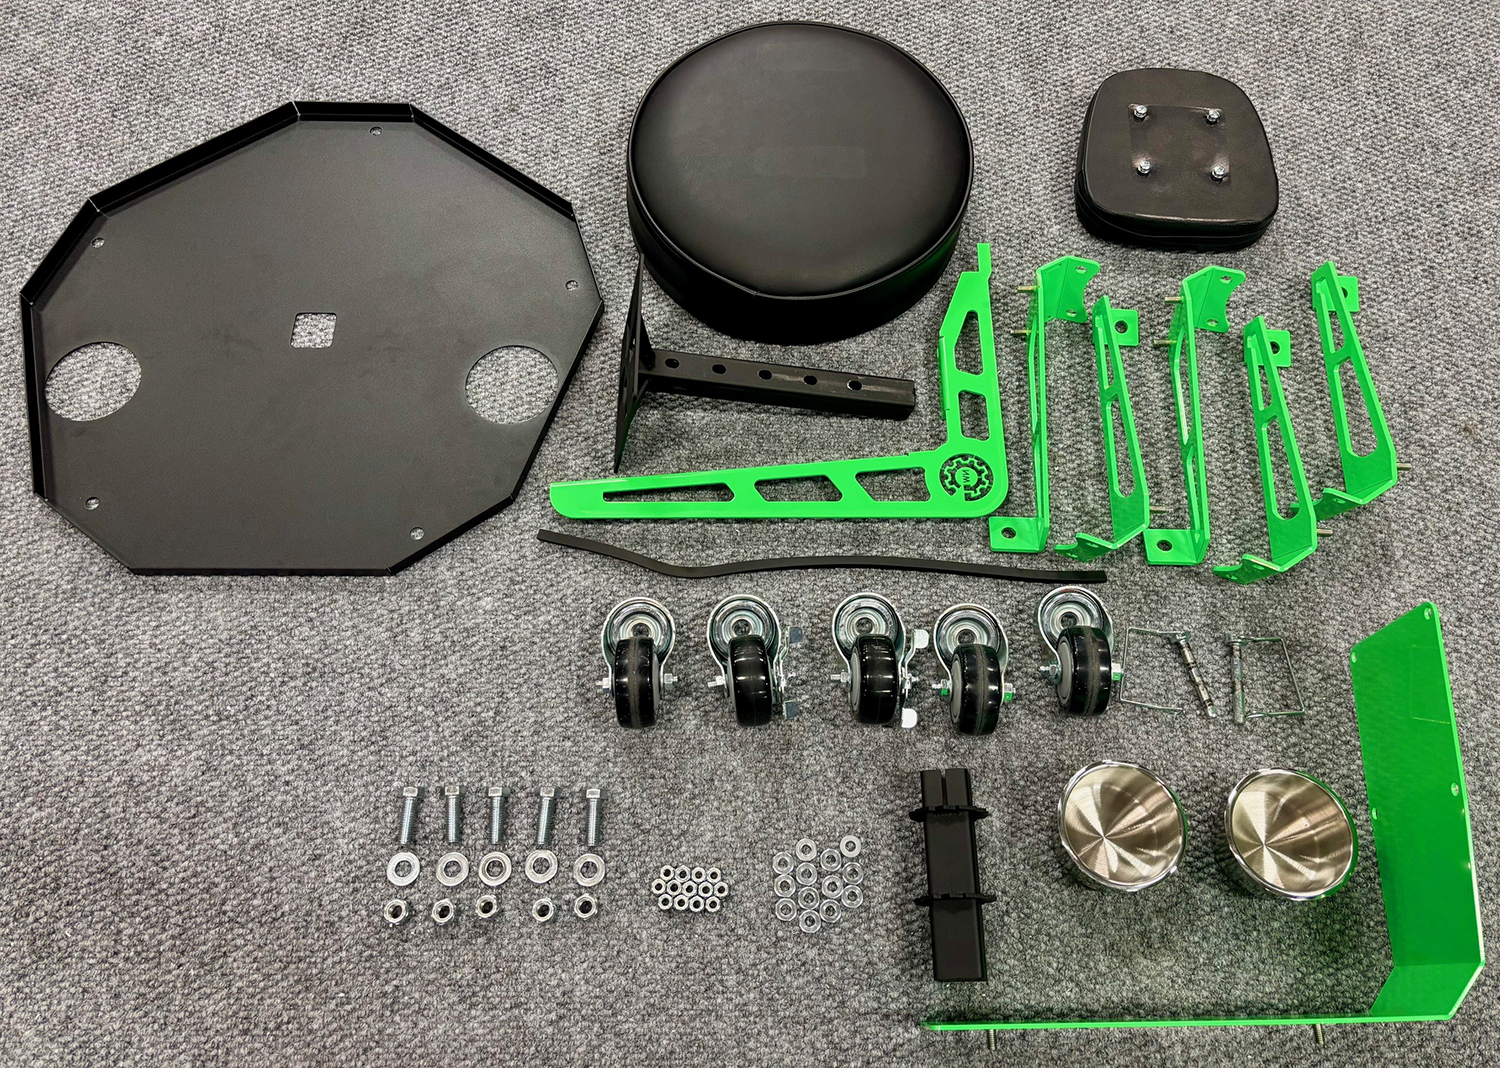
Assembly
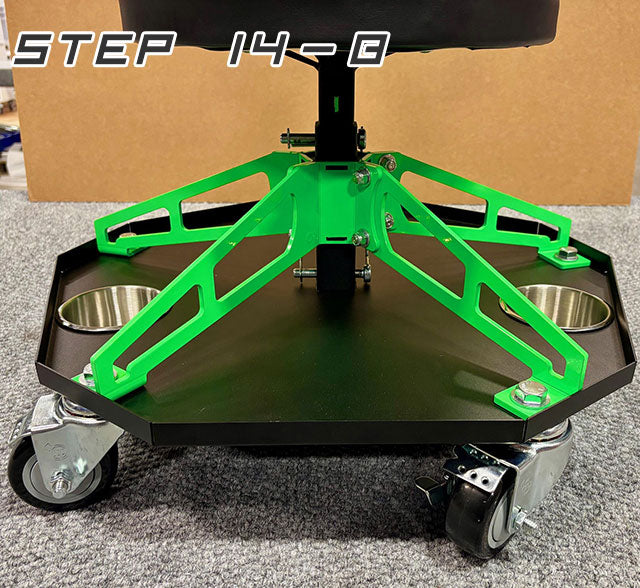
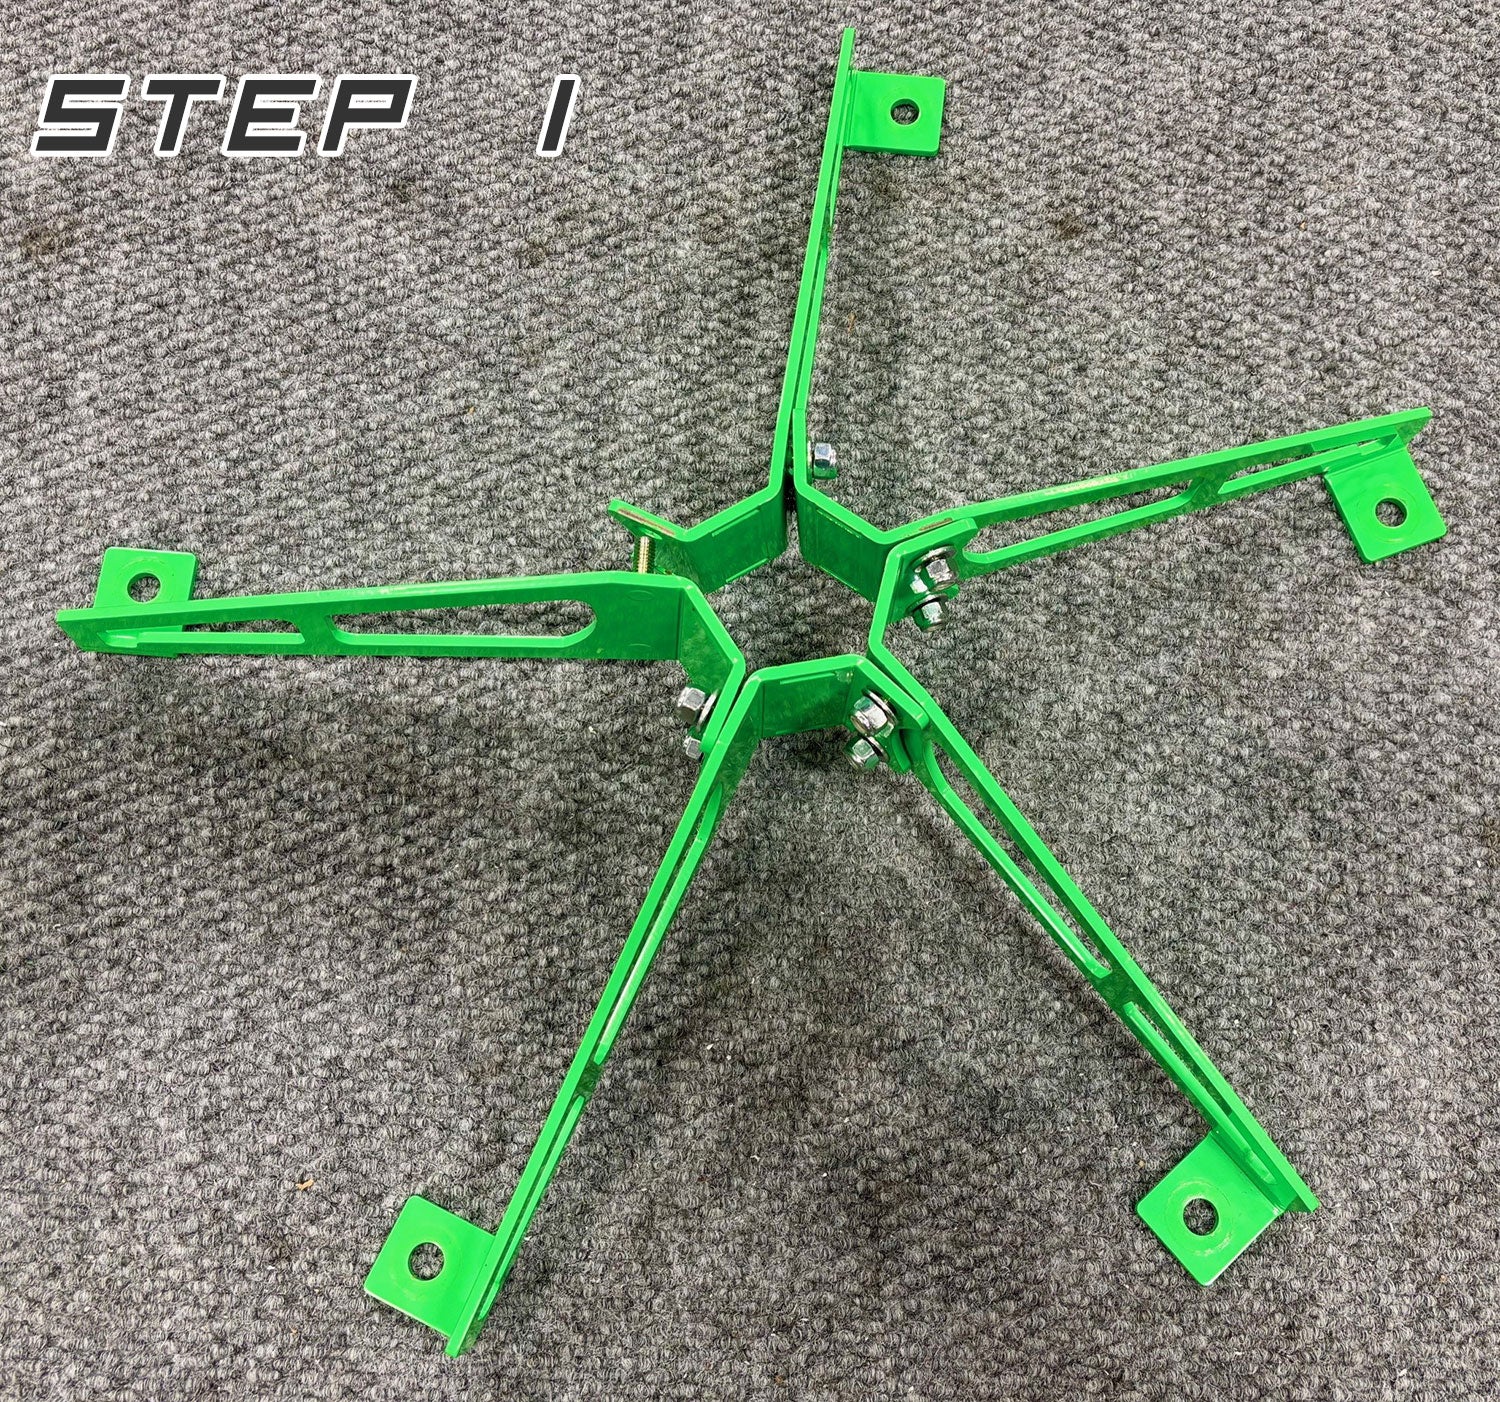
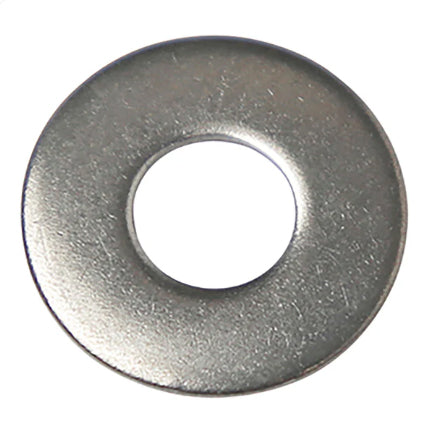
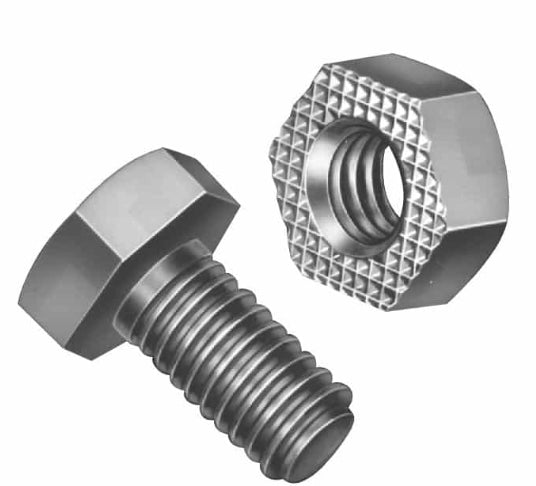
1. Assemble 5 legs (2 washers and 2 nuts 4 times) finger tight
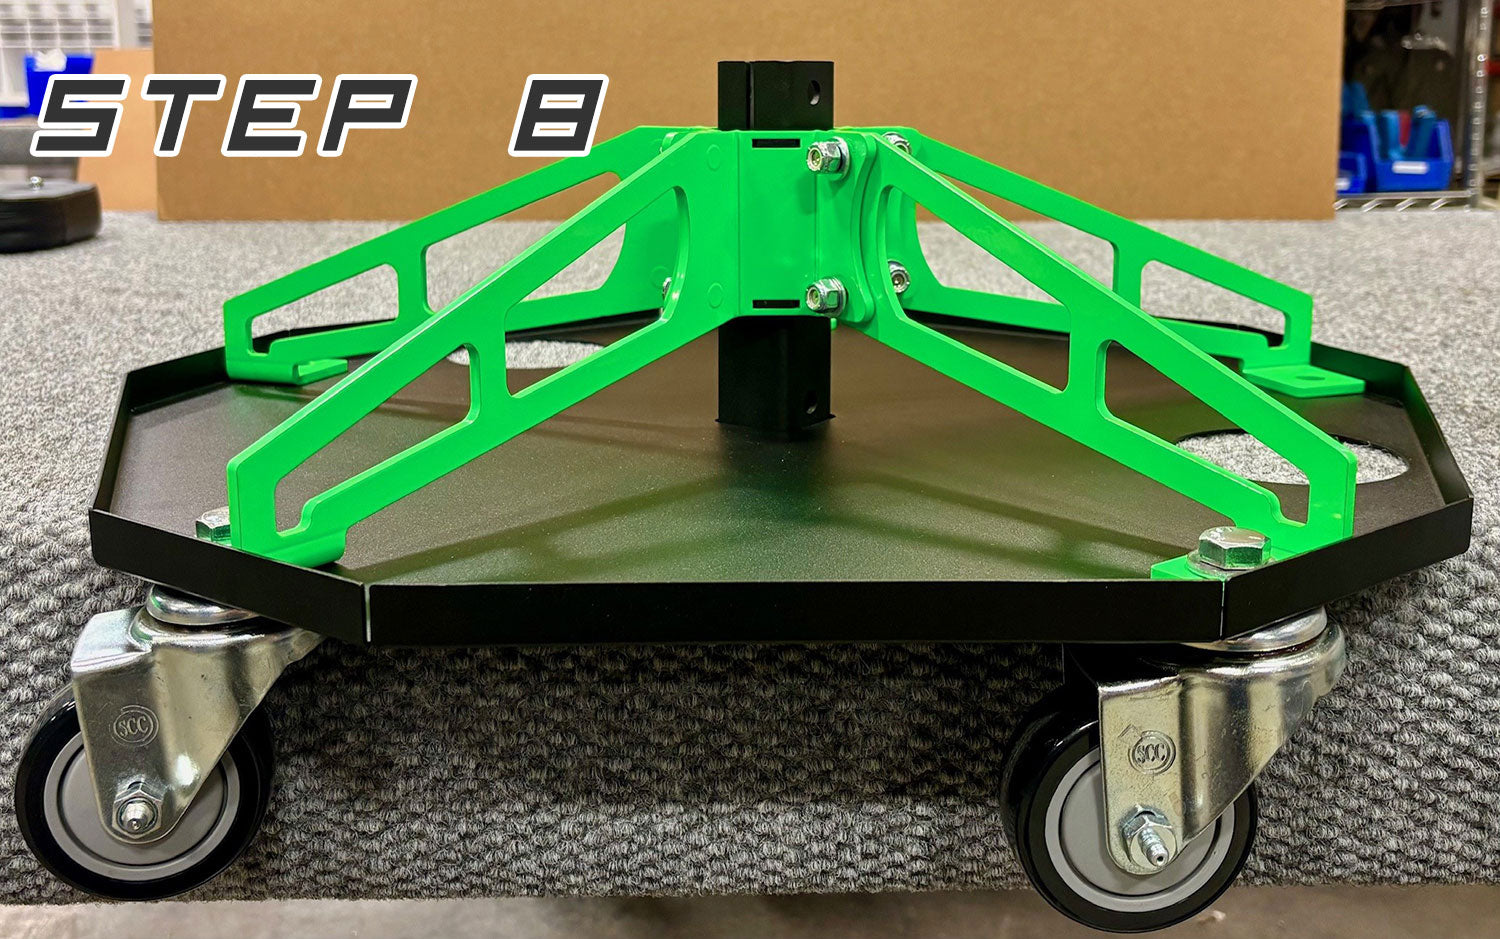
2. Arrange center spline by wrapping the 5 legs around the spline (2 slots up).
3. Install the last (2 washers, 2 nuts) also finger tight.
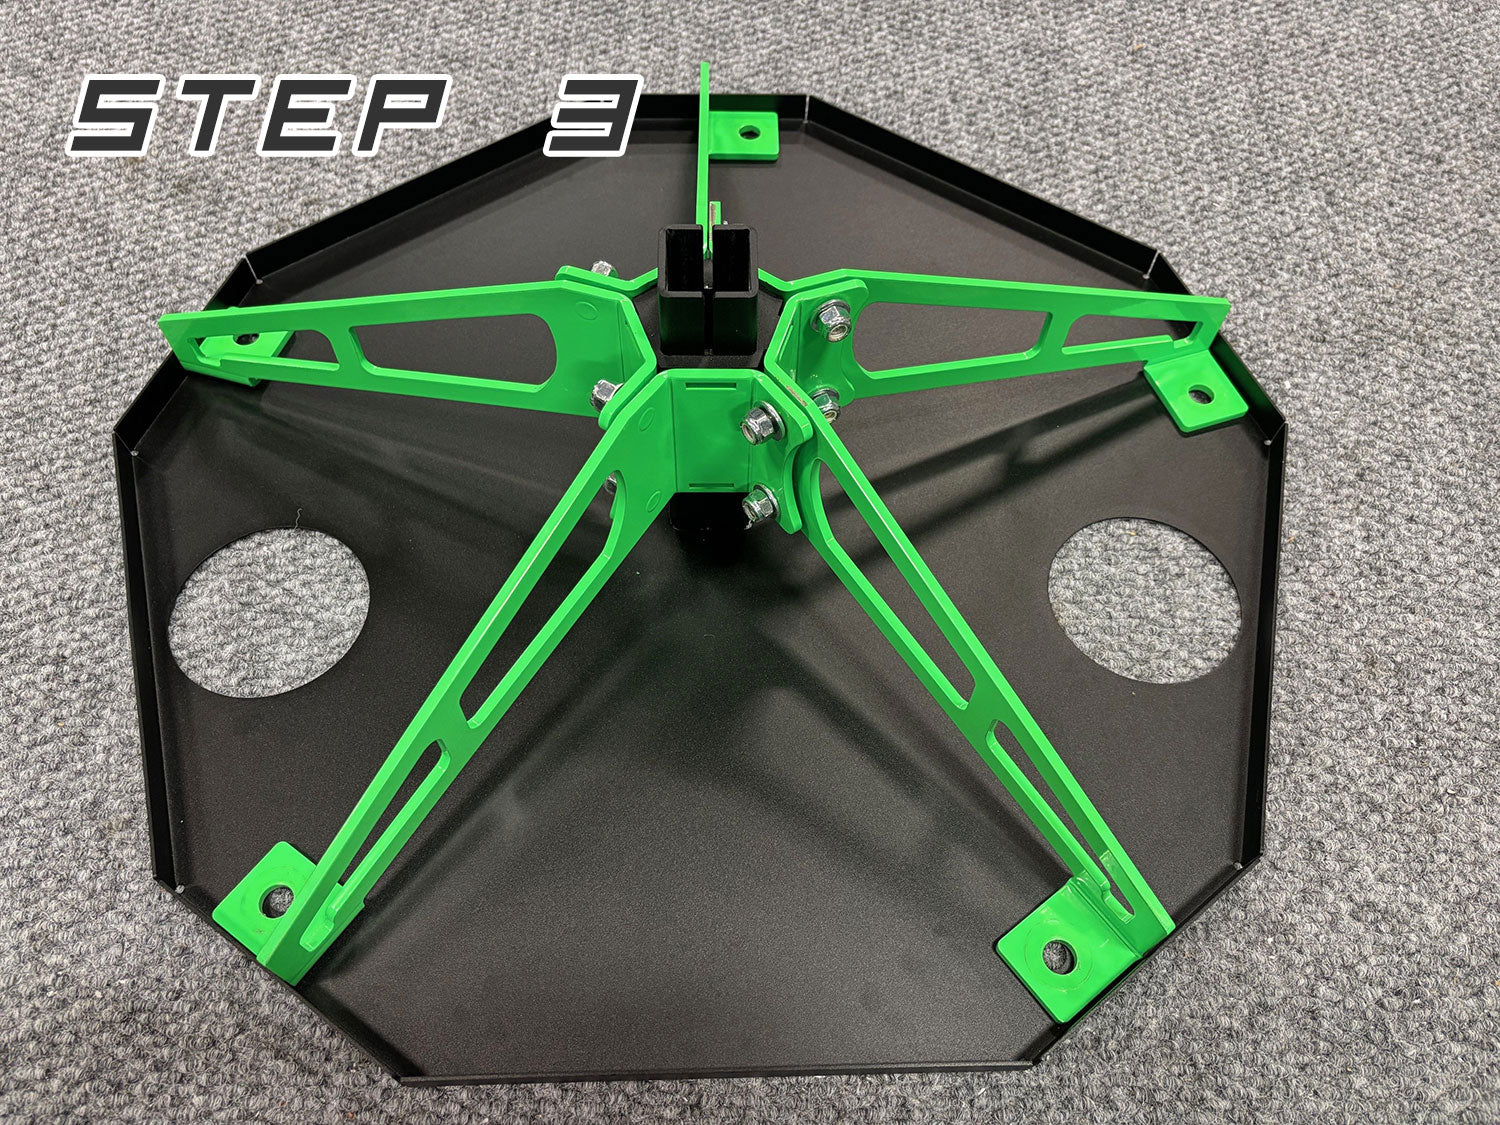
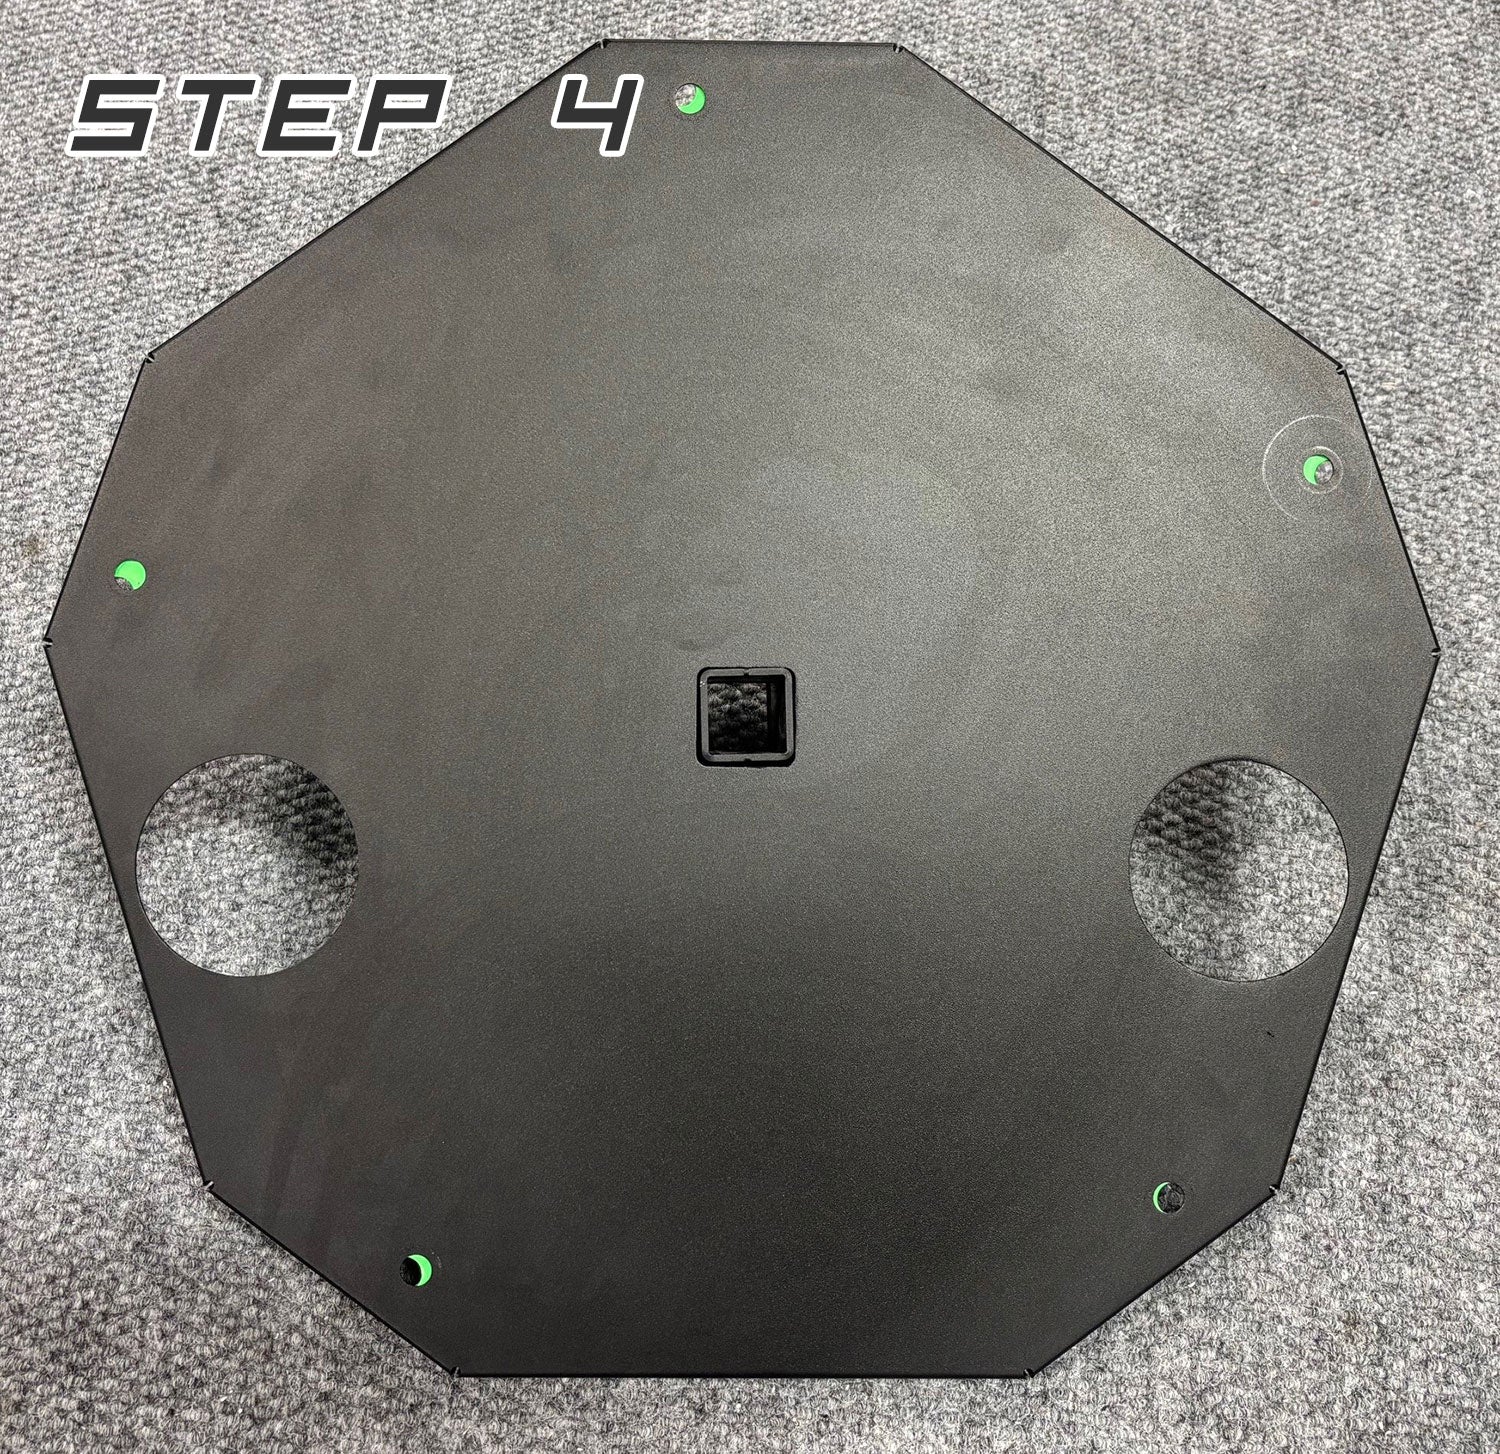
4. Align the square spline with the square hole in the tool tray.
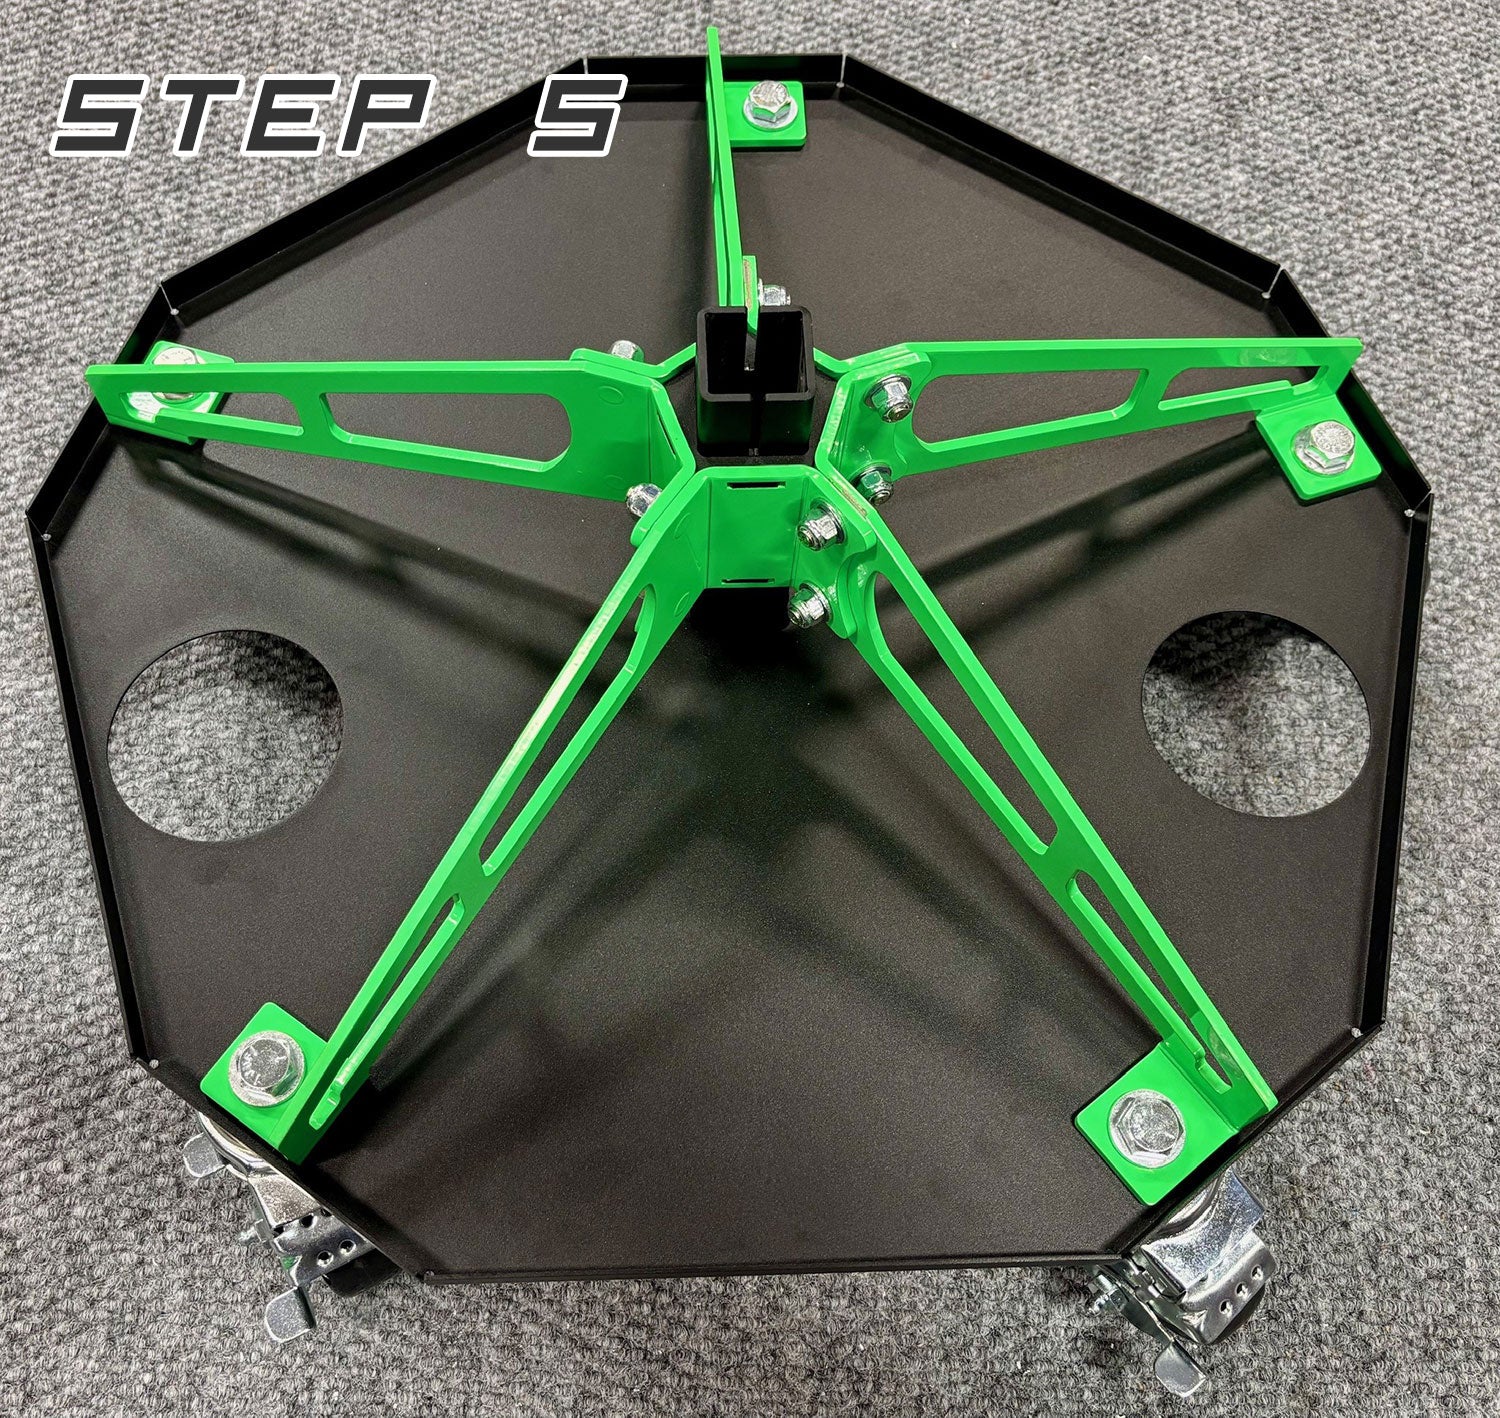
5. No figure where you would like your locking casters (near or far from bottle holders).
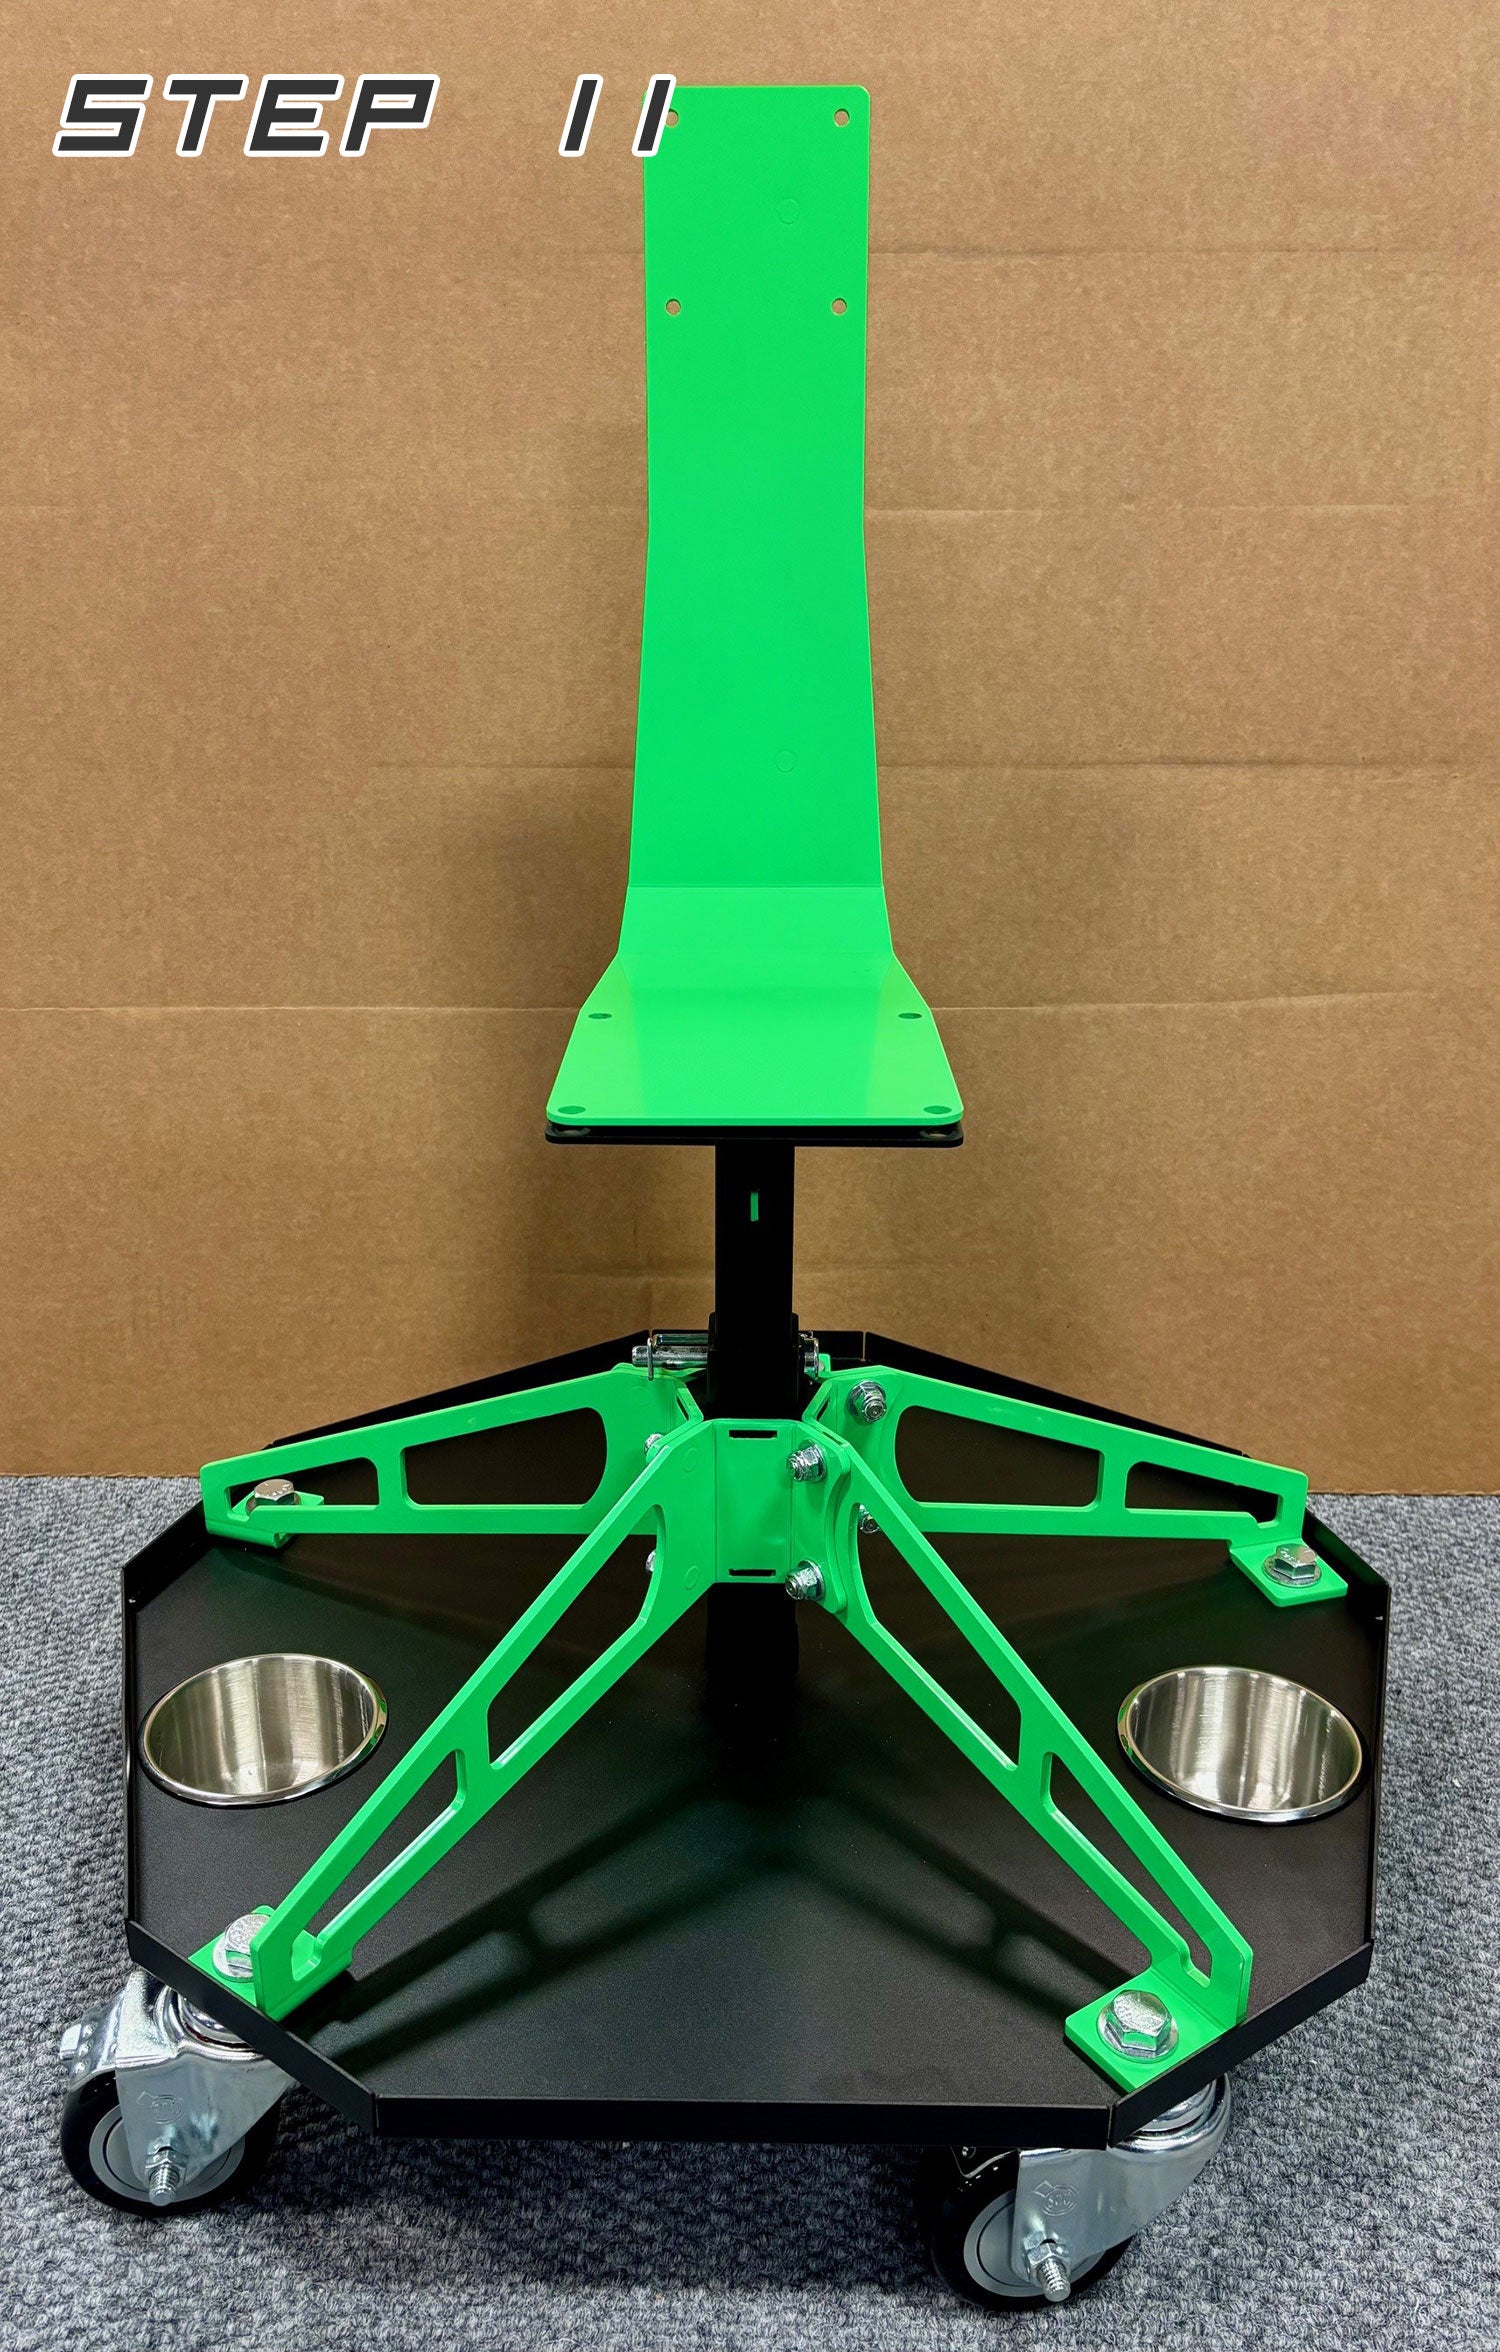
6. Install 5 washers on bolts through legs, tool tray, casters and finish with nut (5 times) finger tight.
7. Now tighten casters with 3/4" open end on nut and 3/4" on the bolt.
8. Tighten 10 each 1/2" nuts on the center spline (base is ready to roll).
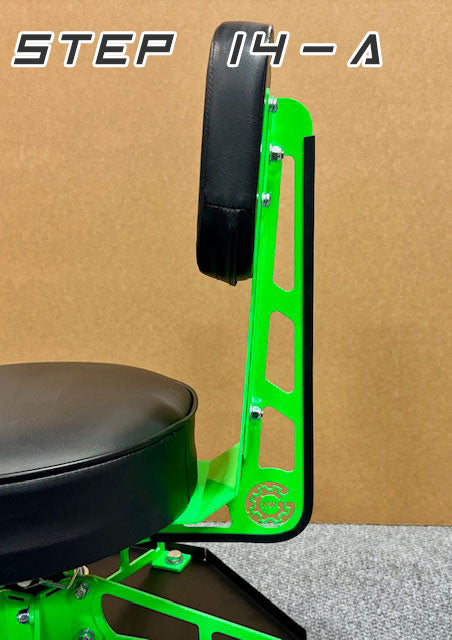
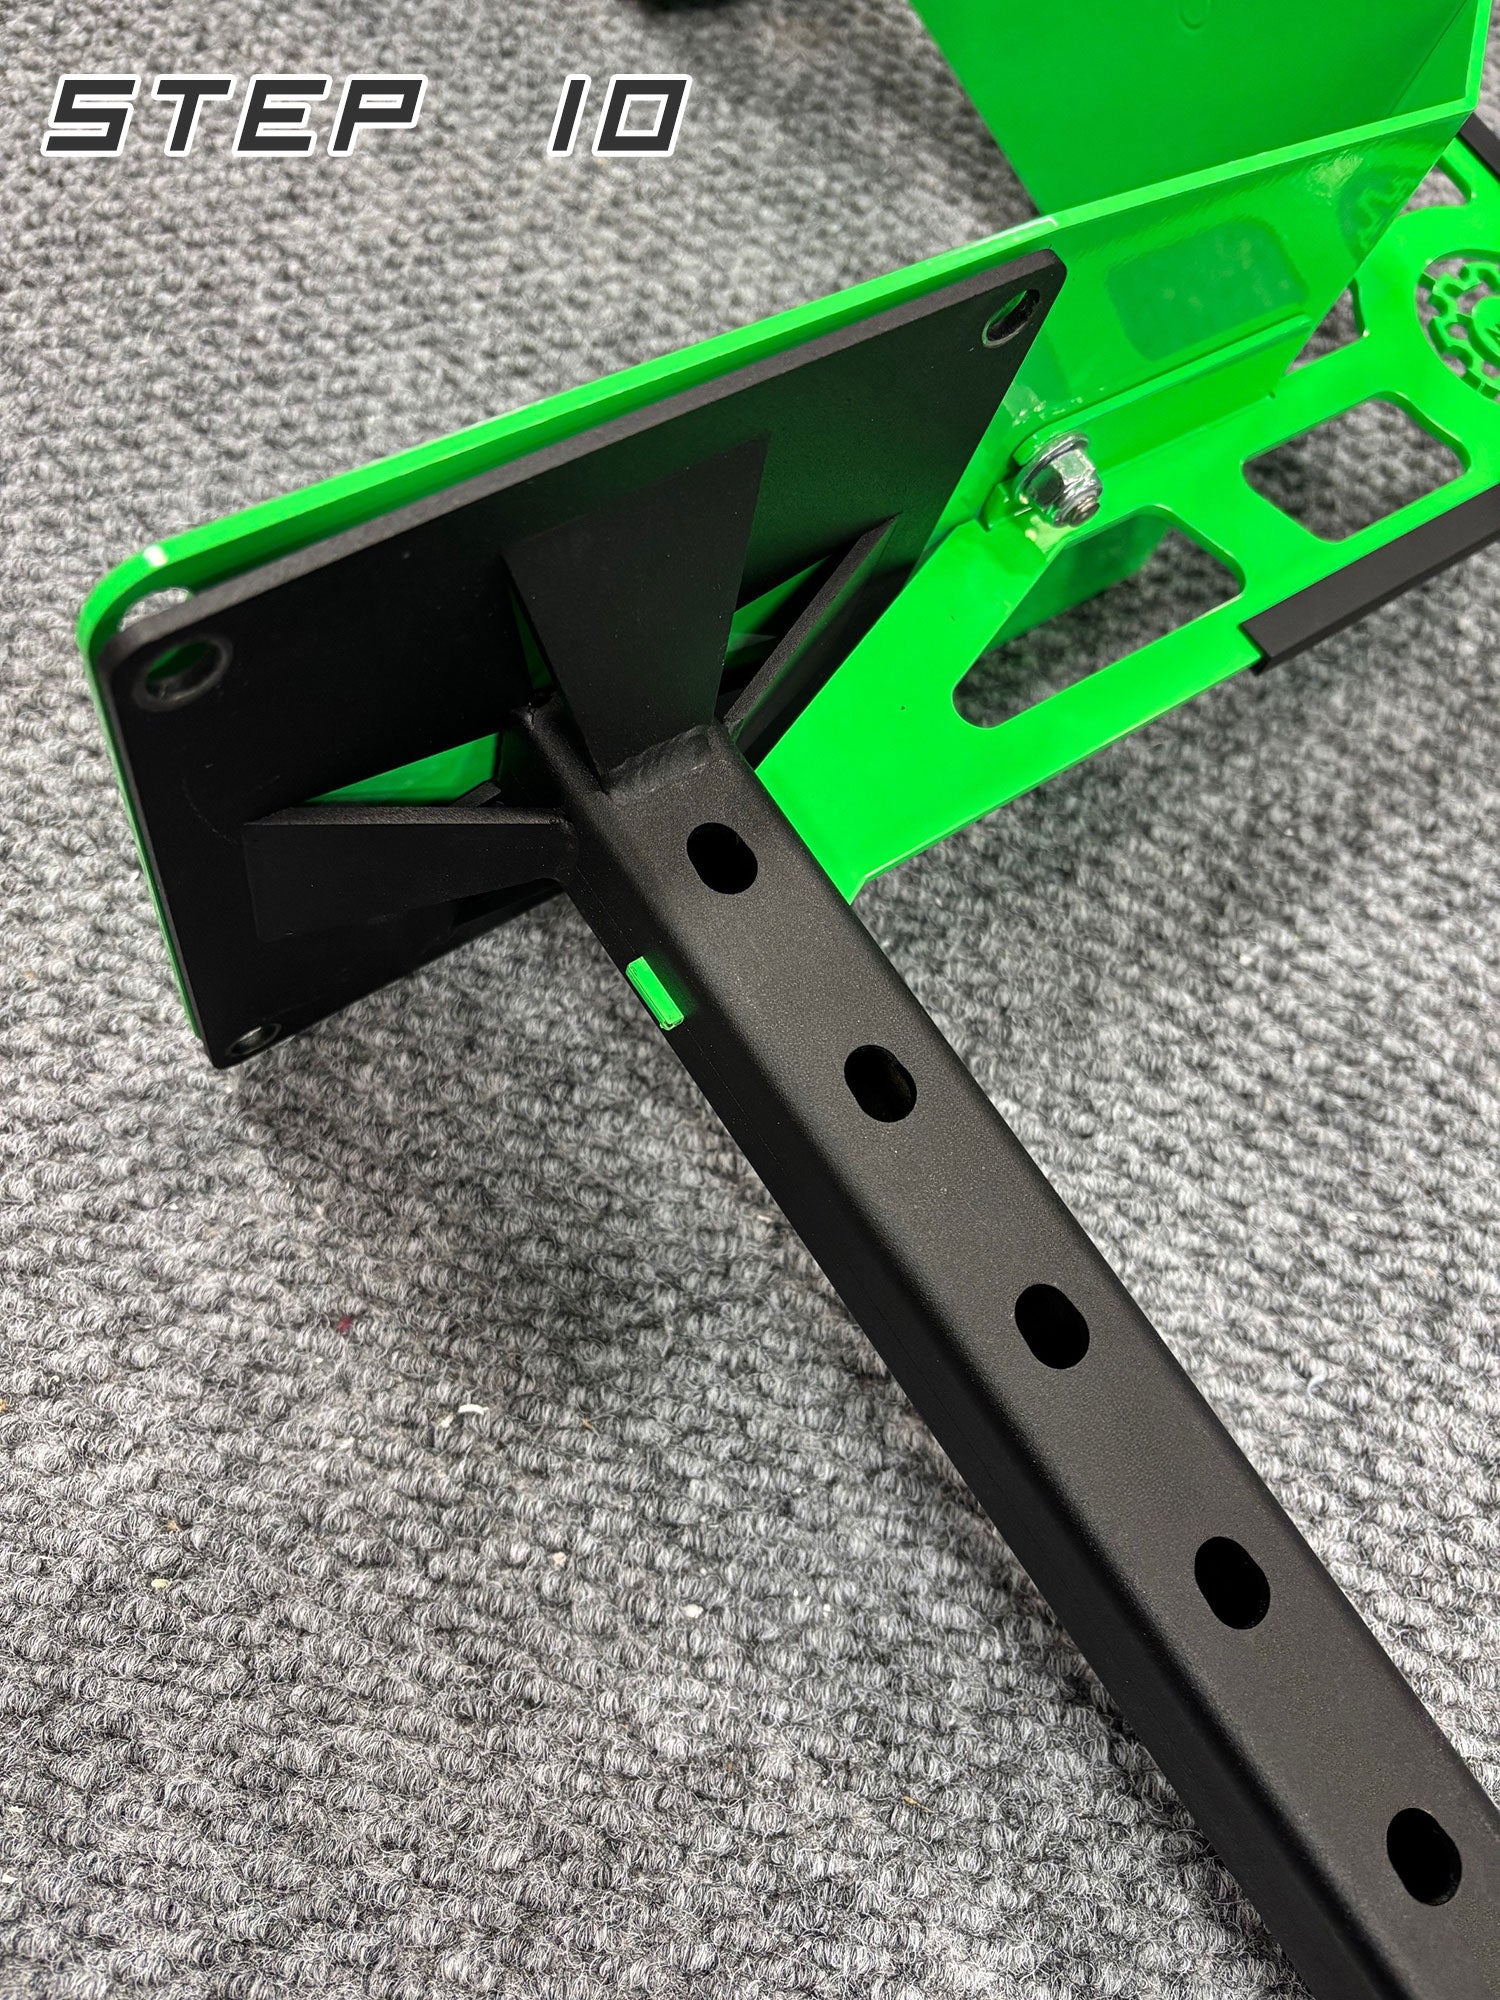
9. Assemble the 2 seatback pieces with 3 washers and nuts finger tight.
10. Insert seatback tab into slot in seat post and tighten 3 nuts (making sure the backrest tab is completely through the seat post).
11. Remove 4 screws from seat cushion and put the seatback on the cushion seam facing the seatback. Install 4 screws finger tight, then use a #2 or #3 screwdriver to tighten.
12. Install seatback into the base making sure that the holes in the base and the seatback line up install snap pin.
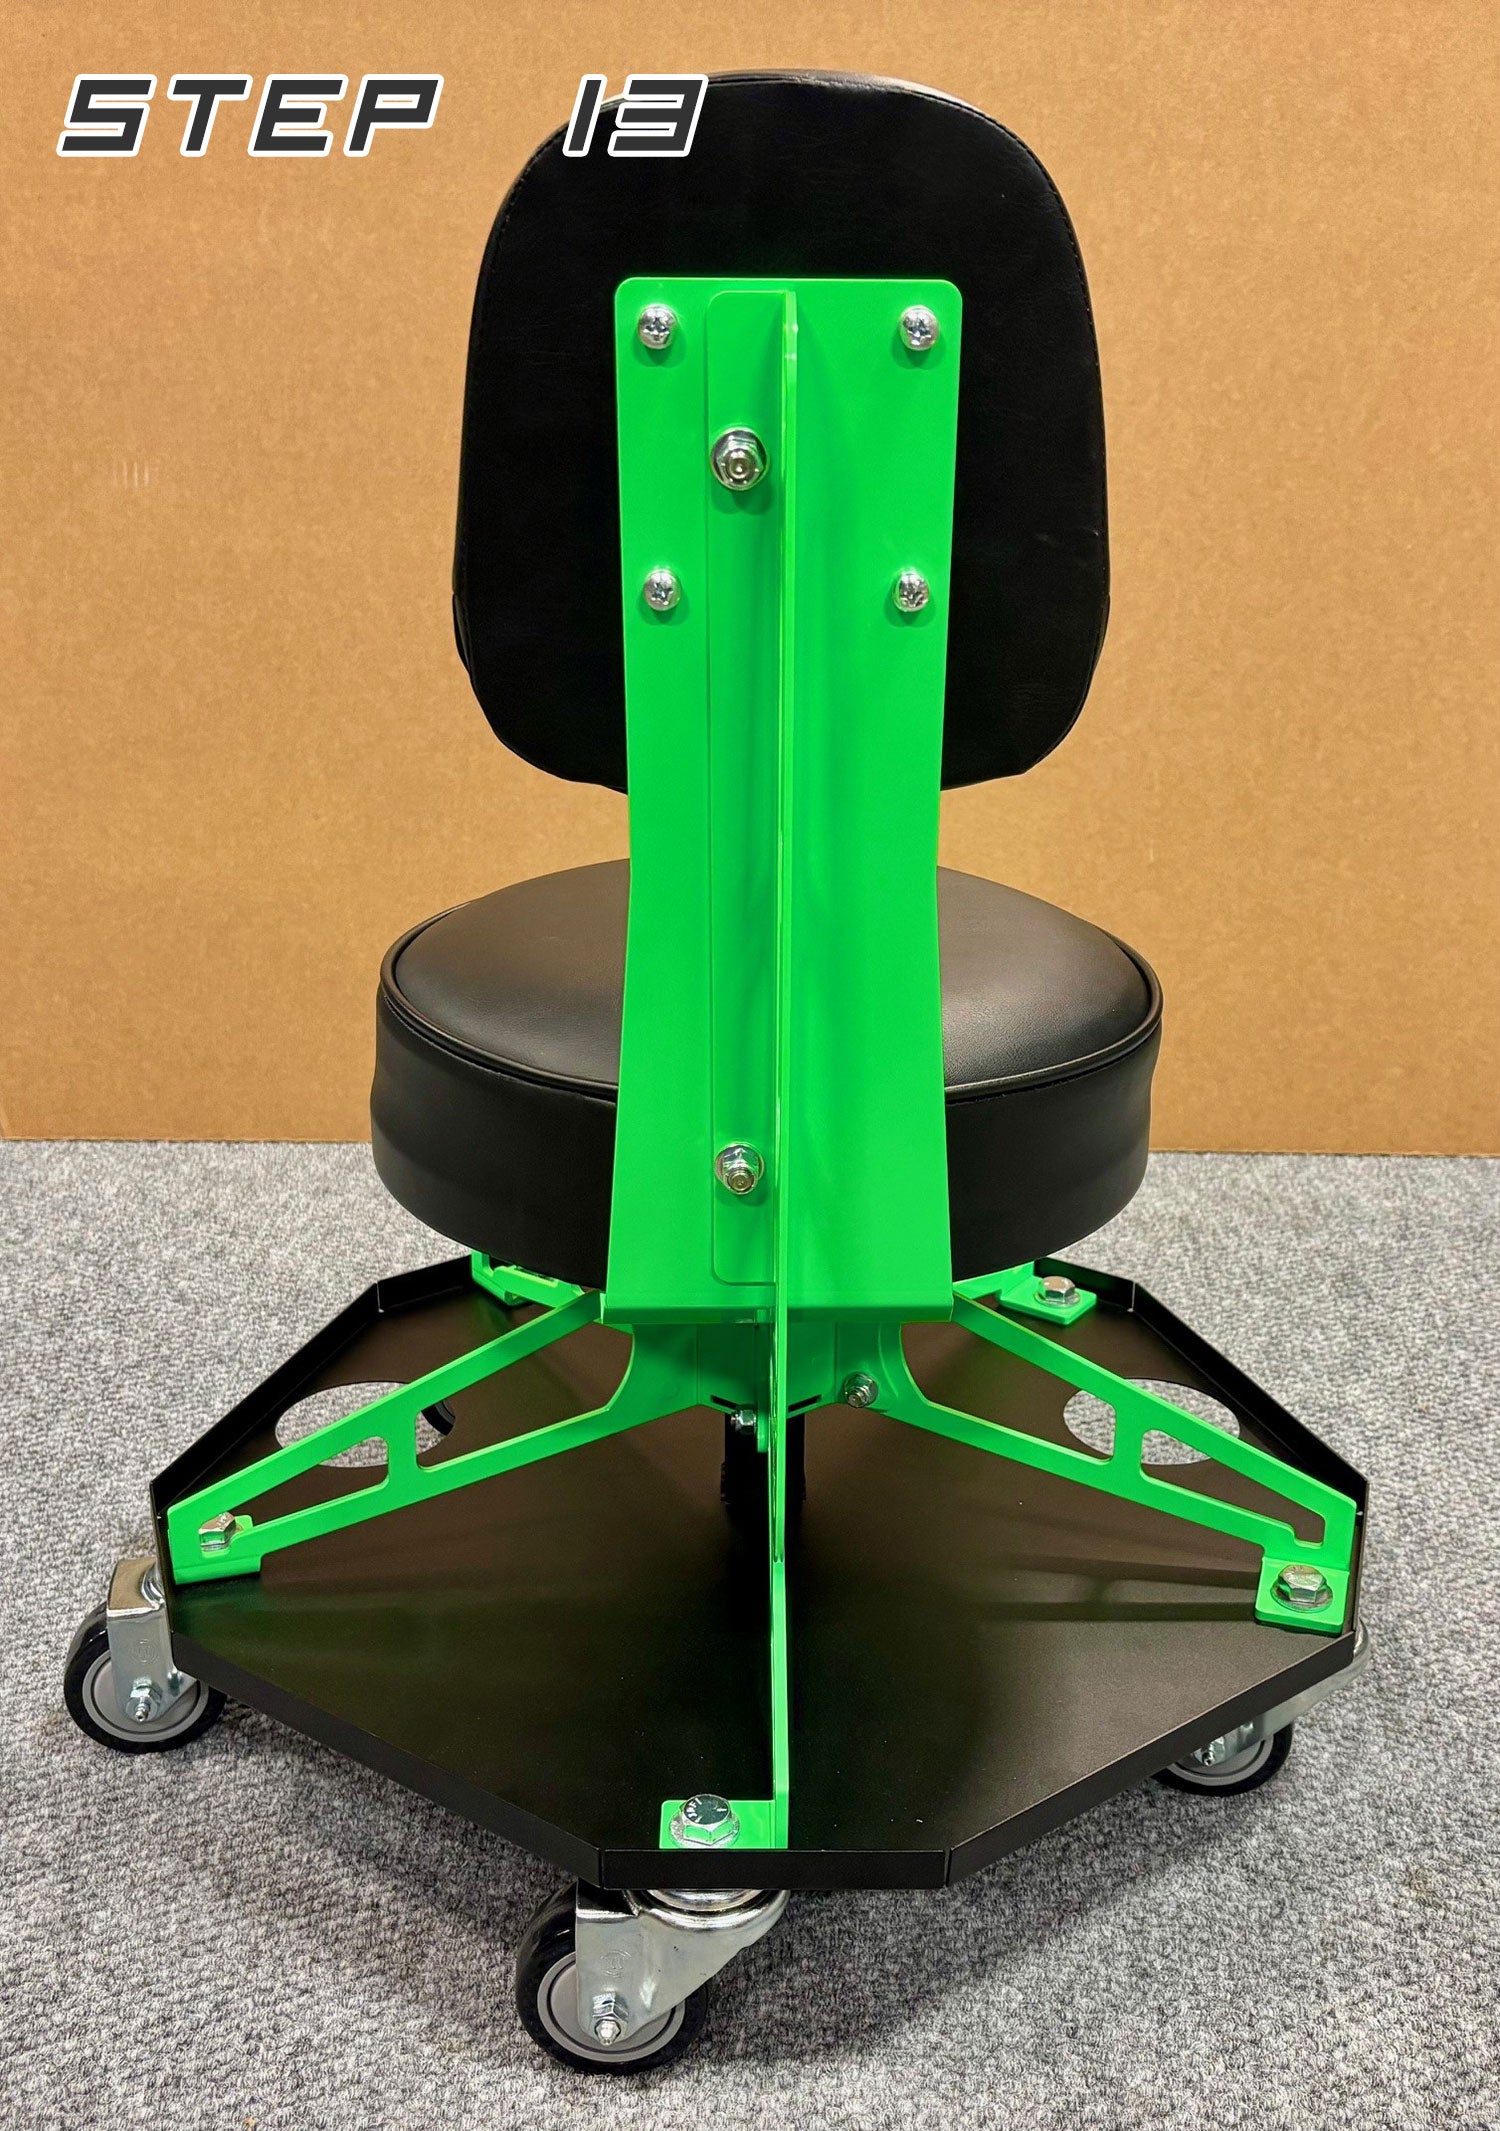
13. Now remove 4 screws and washers from seatback and install the seatback.
14. Install seatback rubber strip and bottle/cupholders (also good for nuts, bolts, coffee, beer nuts, soda, big gulp or beer) 3 1/2" ID.
1.
Assemble 5 legs (2 washers and 2 nuts 4 times) fingertight
2.
Arrange center spline by wrapping
the 5 legs around the spline (2 slots up).

3.
Install the last (2 washers, 2 nuts) also finger tight.
4.
Align the square spline with the square hole in the tool tray.
5.
Now figure where you would like your locking casters (near or far from bottle holders).
6.
Install 5 washers on bolts through legs, tool tray, casters and finish with nut (5 times) finger tight.
7.
Now tighten casters with 3/4" open end on nut and 3/4" on the bolt.
8.
Tighten 10 each 1/2" nuts on the center spline (base is ready to roll).
9.
Assemble the 2 seatback pieces with 3 washers and nuts finger tight.

10.
Insert seatback tab into slot in seat post and tighten 3 nuts (making sure the backrest tab is completely through the seat post).
11.
Remove 4 screws from seat cushion and put the seatback on the cushion seam facing the seatback. Install 4 screws finger tight, then use a #2 or #3 screwdriver to tighten.
12.
Install seatback into the base making sure that the holes in the base and the seatback line up (install snap pins 2 places).

13.
Now remove 4 screws and washers from seatback and install the seatback.
14.
Install seatback rubber strip andbottle/cupholders (also good for nuts, bolts, coffee, beer nuts, soda, big gulp or beer) 3 1/2" ID.